Navigation Controller
Navigation Controller is the way to manage your screens in a navigation stack where every new (pushed) screen goes on top of the previous one, and the user can go back (pop) to it by pressing the native back button or using the custom pop action.
Tip: You can check out more about Navigation Controller in the official Apple Documentation. 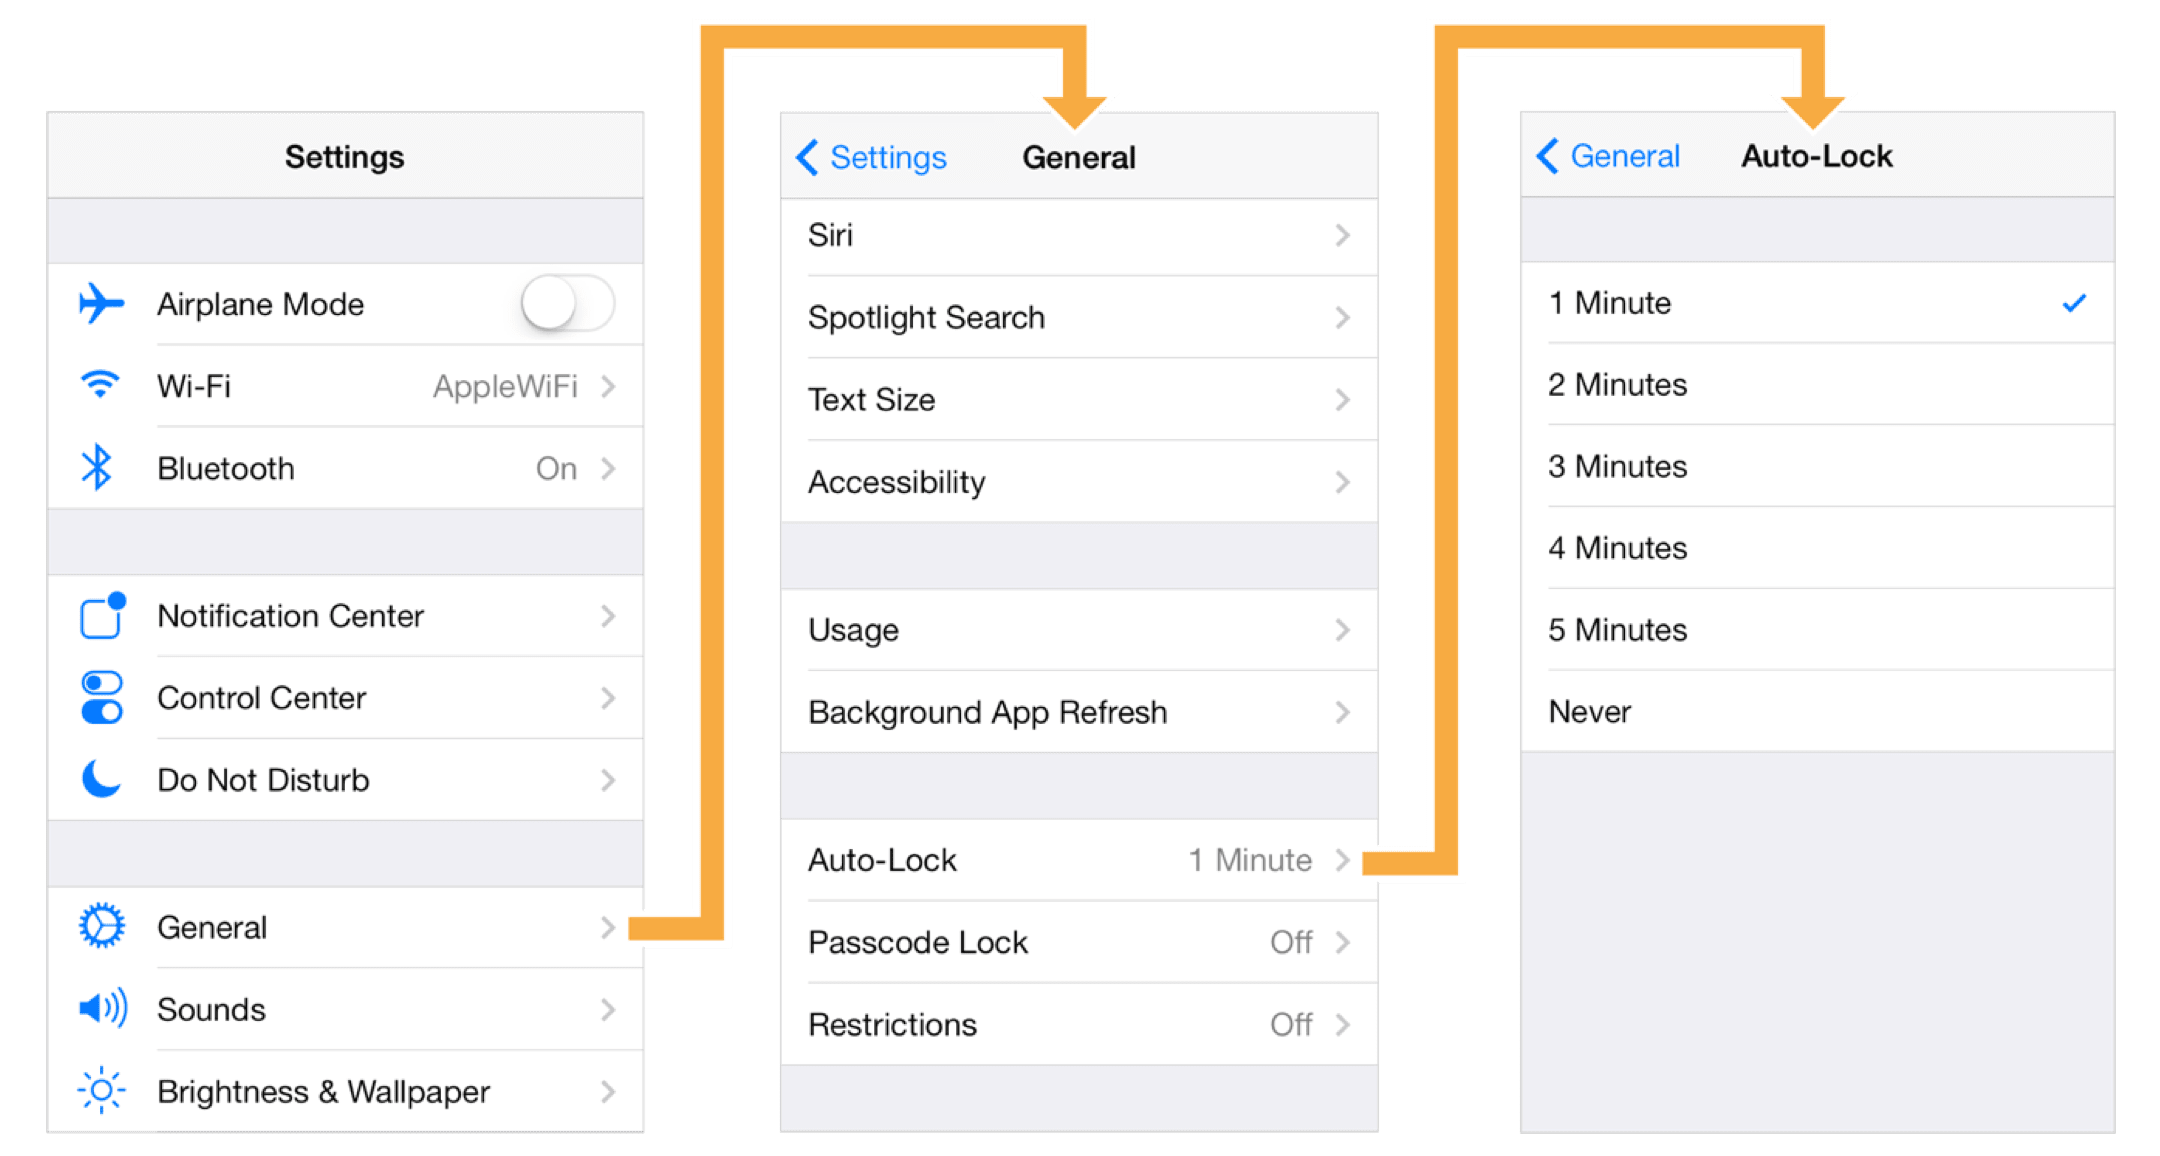
Navigation Stack
To understand how a navigation controller functions, think of it as a stack. The first Screen of a Navigation Controller is considered its “root” screen. When a Screen navigation “pushes” a new screen, the new destination screen is presented and placed on top of the navigation controller stack, so there is always only one Screen presented to the user, but all the previous screens are kept in the stack/memory, and the user can go back to them by popping the top Screen.
Example
Let’s consider that you have a List of Followers screen as root of the navigation controller. Your user navigates to the User Details Screen and then to the Post Details Screen using the Push in Navigation controller presentation style. Now your navigation stack will have List of Followers Screen (root), User Details Screen and Post Details Screen (current/top), but your user will see only the top one, the Post Details Screen. Kodika, although, has kept the whole stack in memory, so when the user presses the back button, it knows automatically to go back to the User Details Screens and then, if back is pressed again, to go back to the root List of Followers Screen.
Note: Using a different presentation style would need you to keep track of all the screens, so when the user presses the back button, you should implement code to remember which Screen is the previous one.
Navigation Bar
When you create a new Navigation Controller, iOS, by default, adds a navigation bar at the top of the Screen. When a new screen is “pushed” to the navigation controller, then a back button appears automatically on the navigation bar’s left side, which when pressed automatically “pops” the current Screen. In some cases, your application’s design may not need this default navigation bar, so you will need to hide it.
Note: Navigation bar is not displayed in the Editor Design as it is added dynamically only when the app is running.
Hide Navigation bar
To hide the default navigation bar in one of your screens, you will need to create a custom function (step 1) and then call this function (step 2).
Step 1
This function will have only one block, which you can find using either the Search Blocks or at Blocks->Screens->General.
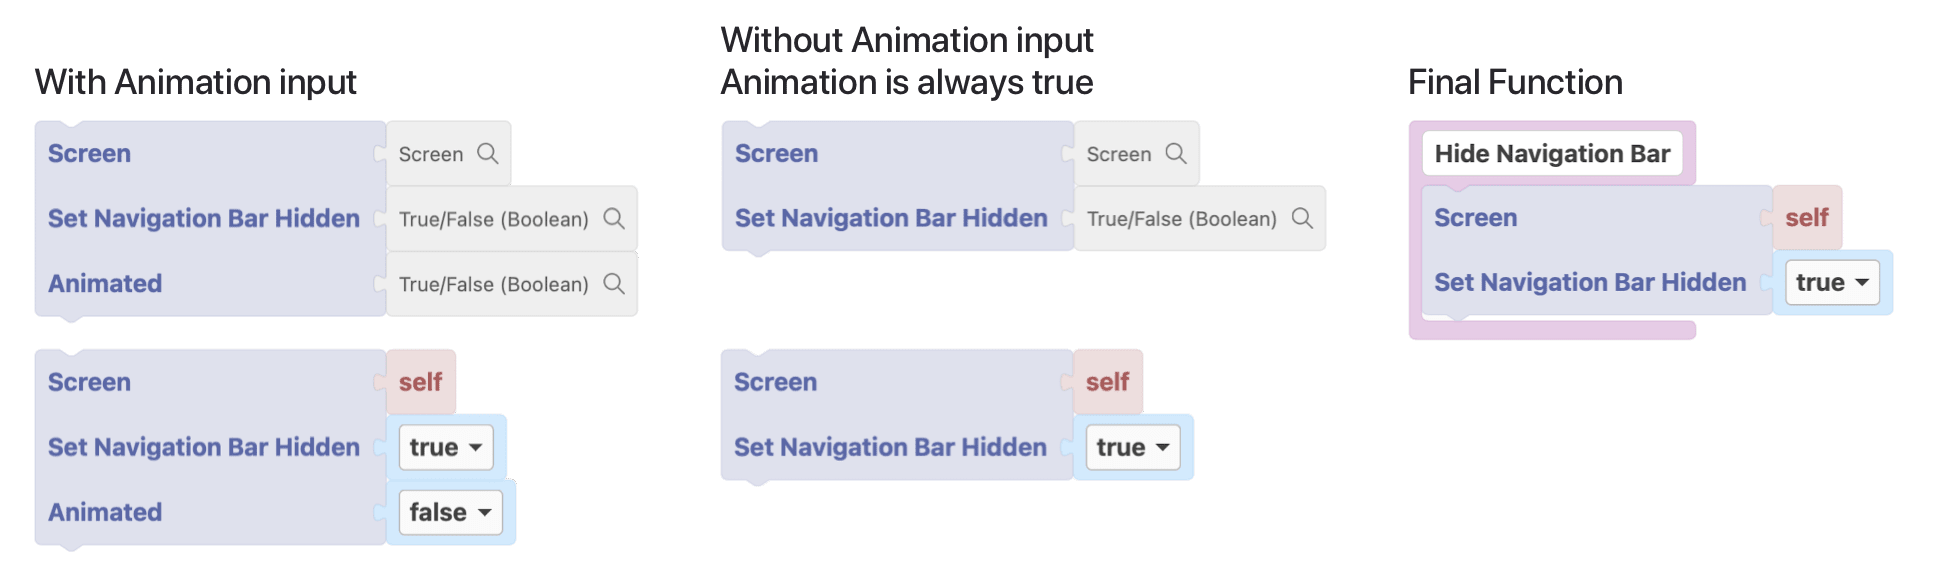
There are two available Code Blocks to change the hidden state of a navigation bar, one with Animated input and one without:
- Connect the
Screeninput to the self block. - Connect the
Set Navigation Bar Hiddeninput toTrueorFalse, depending on if you want hide or unhide it. - Connect the
Animatedinput toTrueorFalse, depending on if you want animation or not.
Step 2
There are many places to call your function, but the most common is when the screen loads. You can add an Execute a Function Event Action to the When Screen first Loads Event.
Default back button
The default back button will appear only when there are more than one Screens in the navigation stack. In our example, when the User Details Screen or the Post Details Screen are the top ones. The default action of the Back button is to “pop” the most recently “pushed” Screen, meaning the currently visible one.
Custom Pop Action
If you need to trigger a go back (pop) action manually, you will need to create a function (step 1) and then execute it when you need to go back (step 2).
Step 1
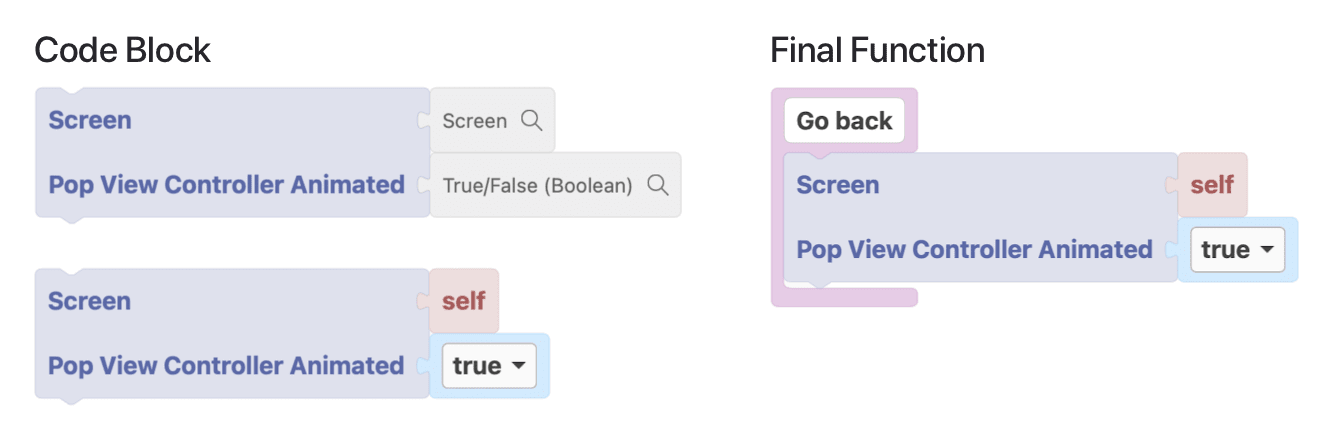
You will need the Pop view Controller Animated Code Block which is available in the Blocks->Screens->General.
- Connect the
Screeninput to the self block. - Connect the
Animatedinput toTrueorFalse, depending on if you want animation or not.
Step 2
Usually, you will need to add an Execute a function Event Action to a button’s On Click Event.
Tip: You can also execute this function from a Datasource response to go back after a Datasource has finished. For example, after a Create Record request you can go back to the previous Screen.
Navigation Bar Title
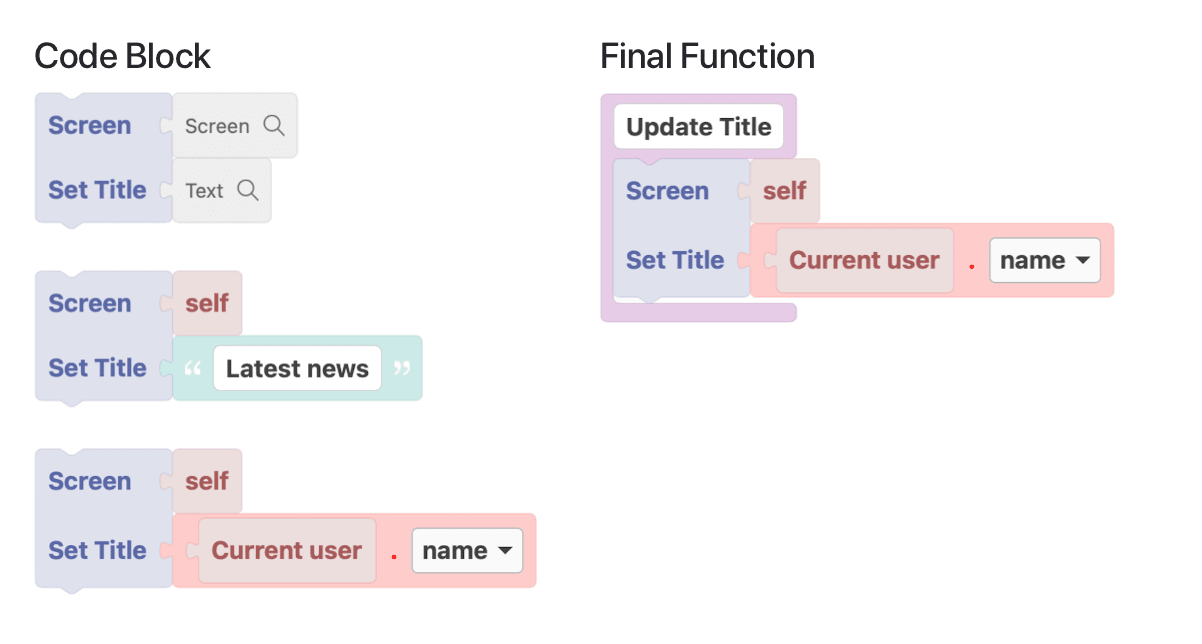
Navigation bars can display a Title aligned to its center. You will need to execute a function to set this title.
- You will need the Set Title Code Block which is available in the Blocks->Screens->General.
- Connect the
Screeninput to the self block. - Connect the
Textparameter either with a Static Text Code Block or with any other Code Block that outputs Text.
- Connect the
- There are many places to call your function, but the most common is when the screen loads. You can add an Execute a Function Event Action to the When Screen first Loads Event.